
Make your first Master Of Fish video in 3 steps
Master Of Fish editorial · Last updated:
On this page
You need one character photo to make the fish-cutting meme. The reference video is already supplied, so you do not need to find a clip or write a prompt. For your first try, I suggest keeping the original fish and background. Try a new combination after you have seen what the character swap does.
The action reference is traced to @cowboylew’s original post; our file is a third-party saved copy. The cat clip in video examples was generated by a user with this site. The other TikTok clips are third-party references.
1. Which photo should I upload?
Open the studio and click the operator photo box, or drag a photo into it. You, a friend or a pet can be the character. This photo replaces the operator behind the table, not the object on the board.
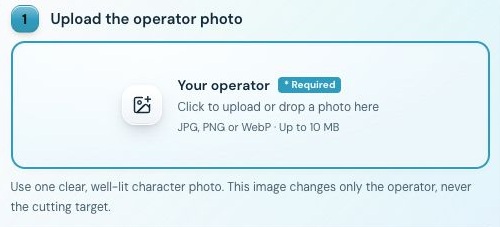
Upload the character here. You choose the cutting target separately.
Open full-size screenshot
Choose one clear subject with a visible face and even lighting. Crop a group photo down to one character. Replace a blurry photo rather than expecting generation to fix it. Use JPG, PNG or WebP up to 10 MB. Both dimensions must be above 300 and below 6000 pixels, with a ratio between 2:5 and 5:2.
If the photo is rejected, check the format, size and dimensions shown in the message. Follow any content-check instructions instead of repeatedly submitting the same file. Get permission before using someone else's photo.
2. Which target and background should I choose?
Choose Original fish, Whole yellowfin tuna, Whole salmon or Long white radish. These are supplied presets. You do not need to upload an object image.
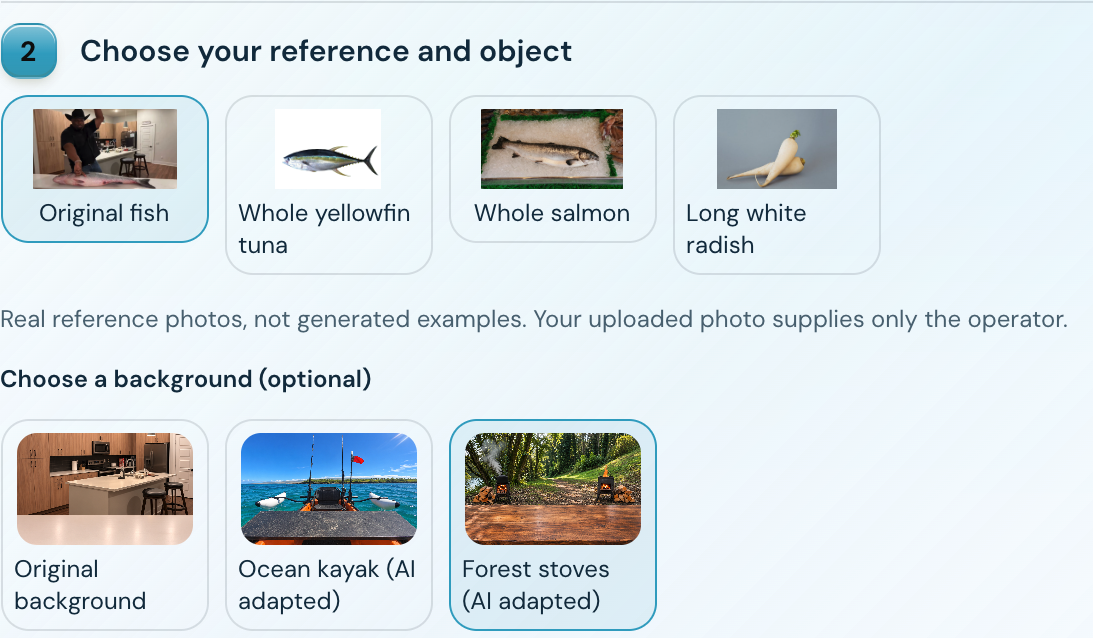
Pick the target above and the background below. Keep both original choices for a simple first try.
Open full-size screenshot
Keep the original scene, or try Ocean kayak or Forest stoves. The reference video still guides the action. The alternative backgrounds are AI-adapted TikTok frames; check the table, operator and object placement in the finished video. See which target and background to choose for the differences.
3. Which quality and aspect ratio should I use?
On desktop, open Settings. On mobile, choose directly inside the form. Use 9:16 for vertical video, 16:9 for a wider scene or 1:1 for square. Quality, 720p or 1080p, is a separate choice from the frame shape.
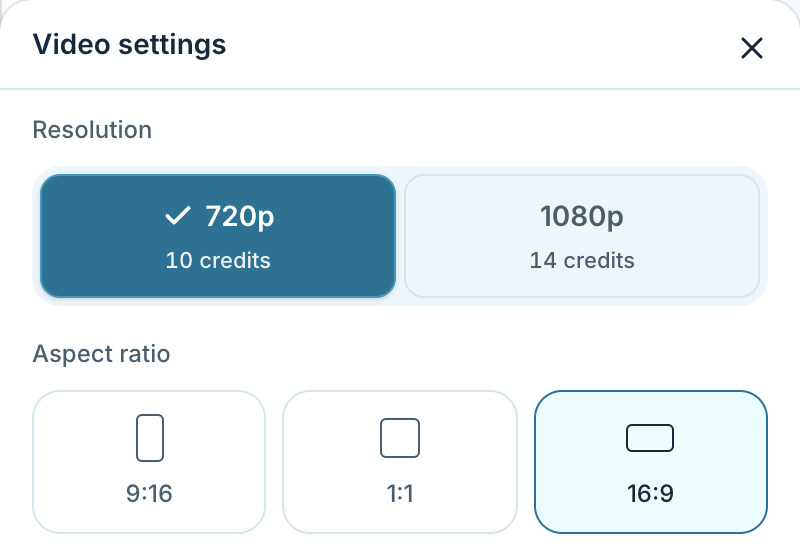
Choose your settings, click Done, then check the generation button. This screenshot records the prices at capture time; review the current quote before submitting.
Open full-size screenshot
Sign in, make sure you have enough credits and check the quoted charge. Confirm photo permission, then click Generate video. Changing the photo or target and remaking a successful video creates a new paid task. The credits and upscaling guide compares the choices.
Check progress before submitting again
Open My creations. If the task is processing, wait for that task rather than submitting a duplicate. Credits are returned when a task is confirmed as failed.
Watch the action and listen to the audio
Check the face, hands, knife and contact with the cutting target. Listen for audio problems too. The reference guides action and sound; it does not guarantee an exact copy. Upscaling cannot reliably repair incorrect motion.
Download a copy before posting
Save the file to your device. Do not rely on the task list as permanent storage. Here is where to download, when access ends and what to check before posting.